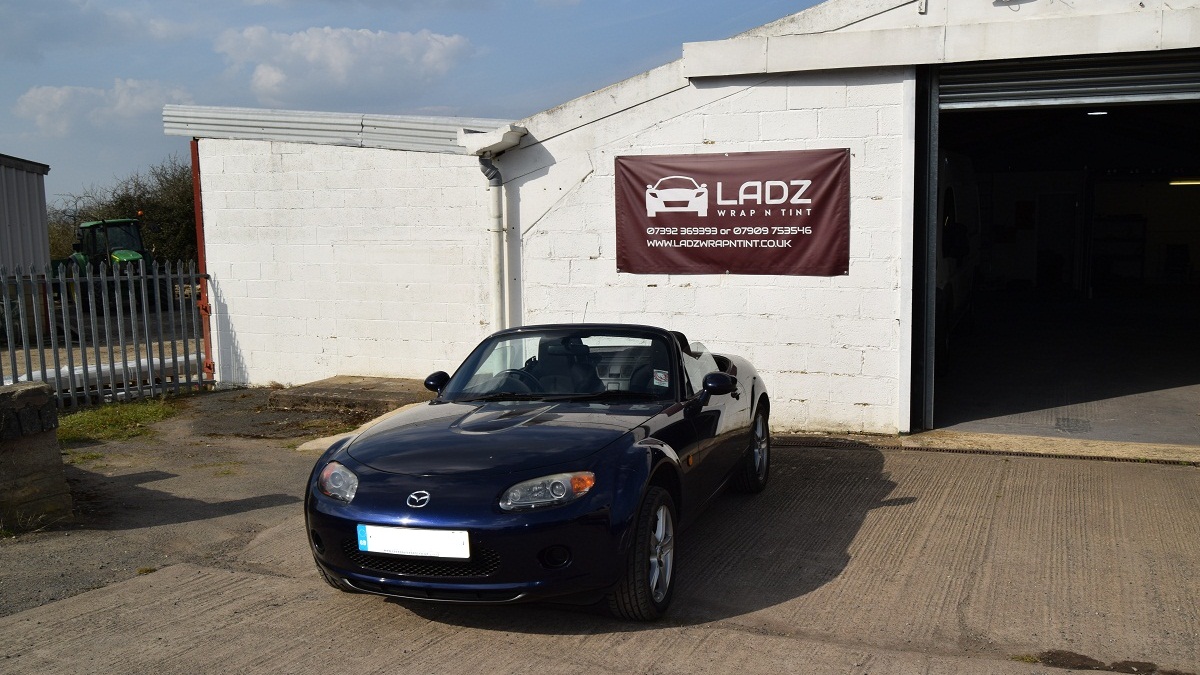
Hot on the heels of our VW Caddy wrap we have just taken delivery of a lovely little 2007 Mazda MX-5 for a full body wrap in Deep Red Gloss Airlease by KPMF. In part one of a two part series we detail exactly how we go about wrapping this vehicle for our client John.

We love working with KPMF vinyl wrap as it is a high quality wrap that is easy to work with. They also have a fantastic range of colours to choose from.
Vehicle preparation
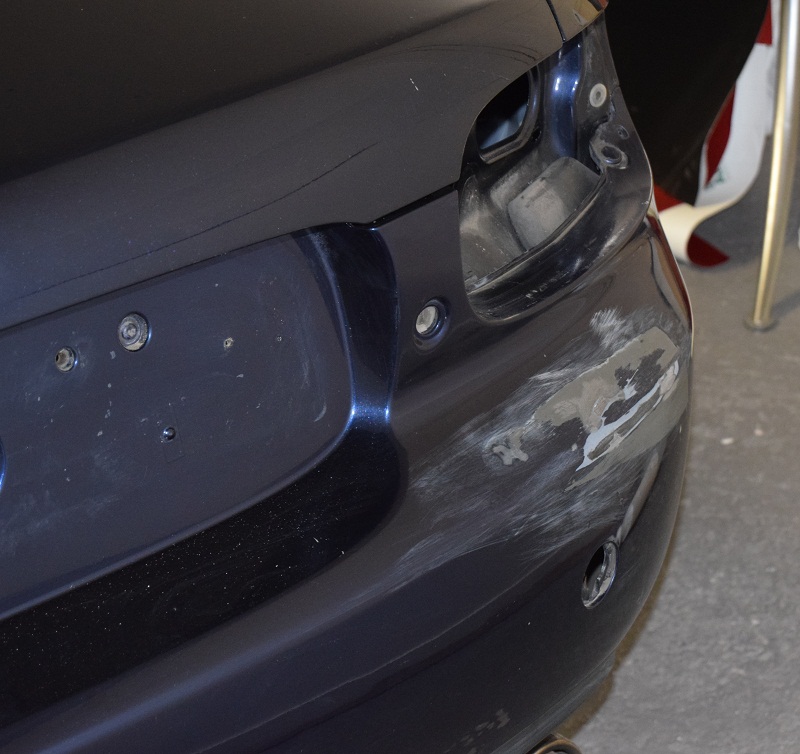
Some vehicles may have slight imperfections that need to be addressed. Before we started to vinyl wrap this Mazda MX-5 it had some slight damage to the rear bumper that needed addressing first. We used some filler and sanded it down to a nice smooth finish. Below is a picture of the work that we had to do to get this surface ready for wrapping.
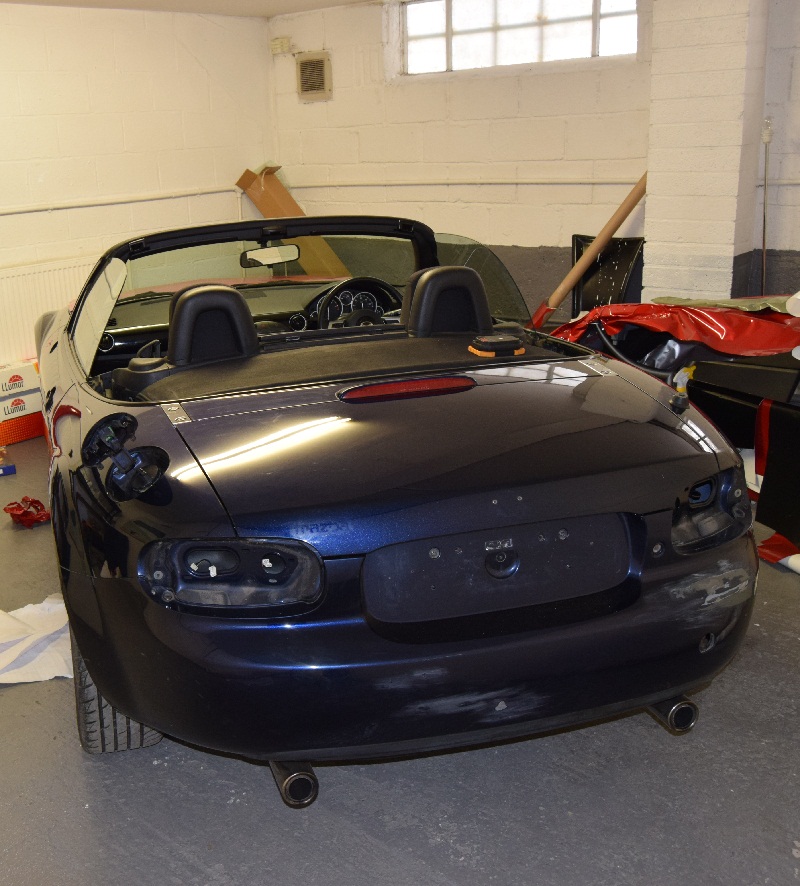
There was also a strange circular mark in the center of the rear bumper too so what we did was trim and fill the area. Once the vinyl wrap is applied this will look absolutely flawless. Below is a picture of the entire rear bumper showing the blemishes sorted out ready for application of the vinyl wrap.
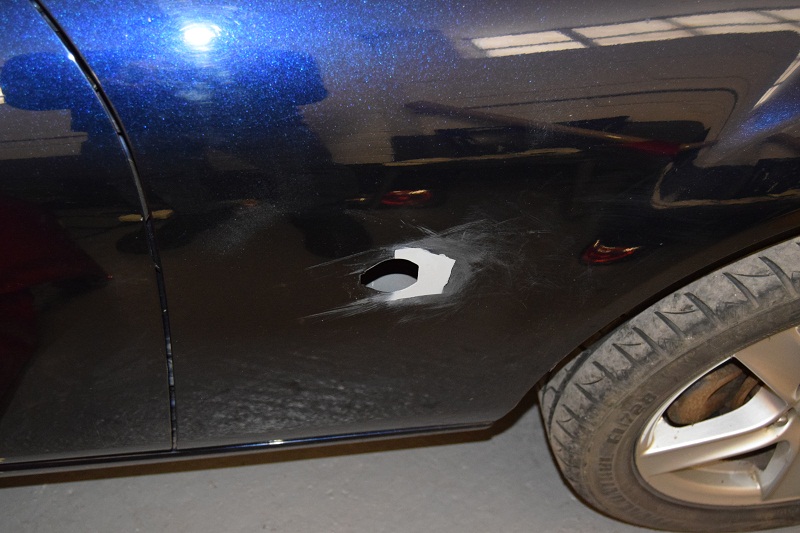
There was also a slight blemish on the drivers side repeater. It had a small amount of rust around it. We had to address this because putting wrap over rust is not a very good idea, so we sanded and primed the rusty area to a very smooth finish. As you can see in the picture below this is now perfectly smooth and ready to be vinyl wrapped.
Whenever we price up a vinyl wrap for a client we always make them fully aware of any extra costs involved. Most vehicles paint is in pretty much perfect condition but there may occasionally be slight blemishes or rust spots. These are usually quite easy to deal with without radically increasing the overall cost of the vinyl wrap.
Ready to begin
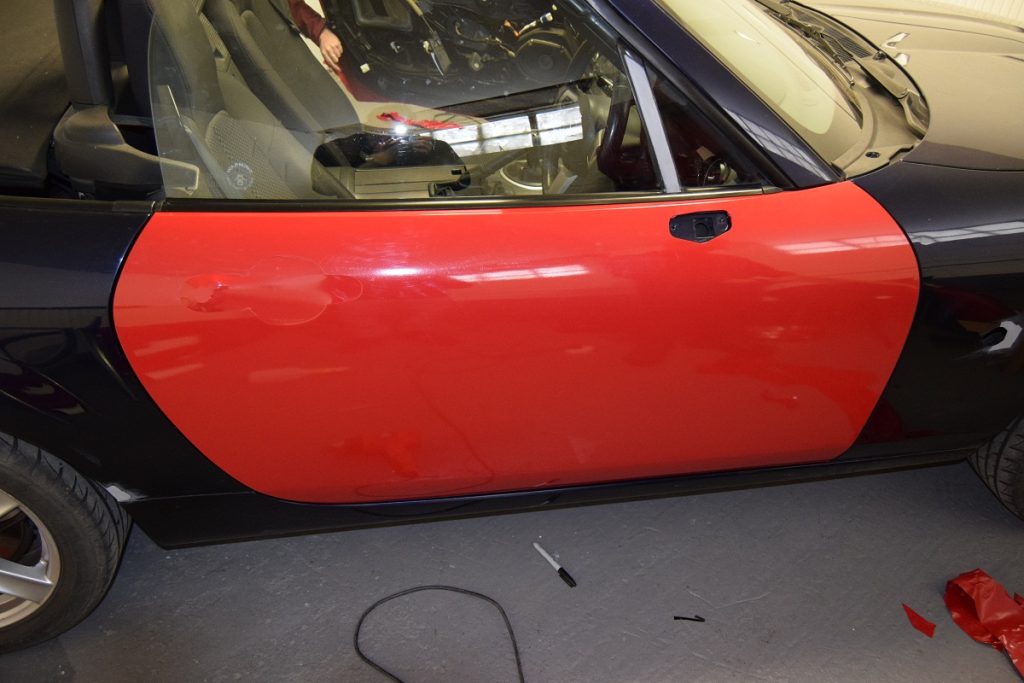
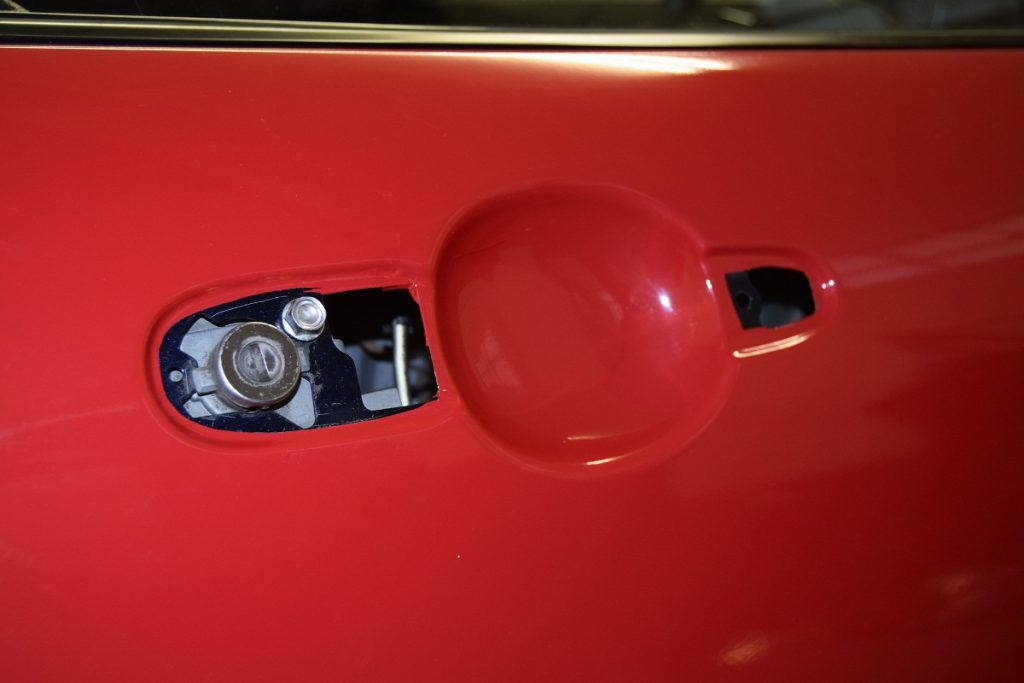
Now we are ready we can begin the vinyl wrapping process, below are two pictures of the drivers door completely finished, notice the attention to detail on the door handle recess area.
The next part of the Mazda MX-5 to be wrapped was the two front wings. We started on the drivers side wing.
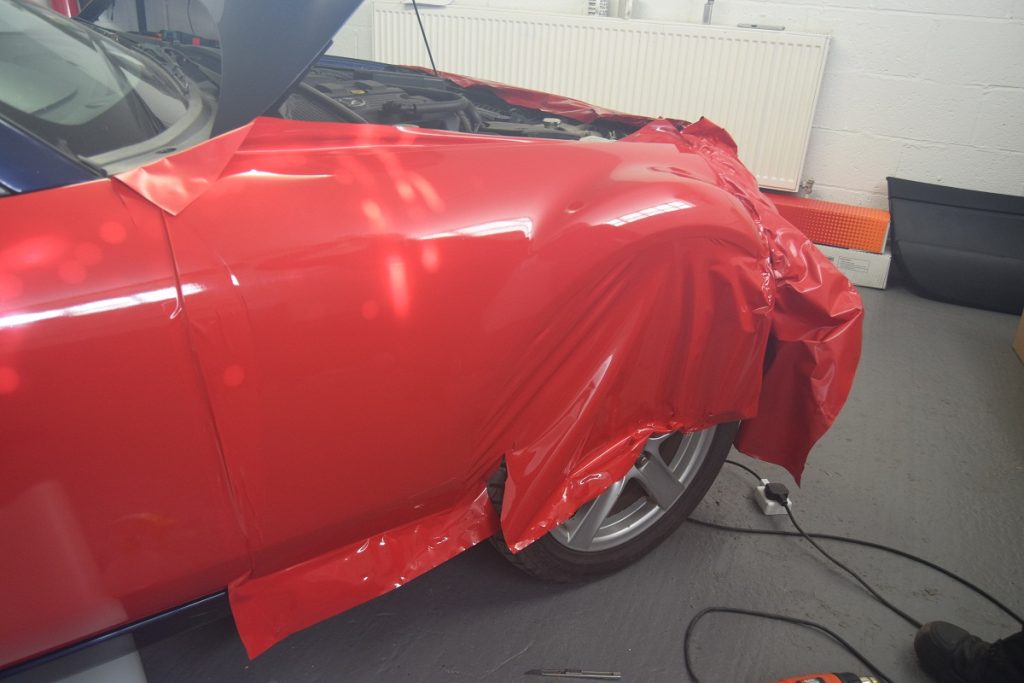
This wing did prove to be quite difficult to wrap due to the many contours of the wing. It curves in all kinds of different directions but with a little patience it comes up an absolute treat. Vinyl wrapping is something that cannot be rushed and we will always take the time to make sure that it’s as perfect as it can be.
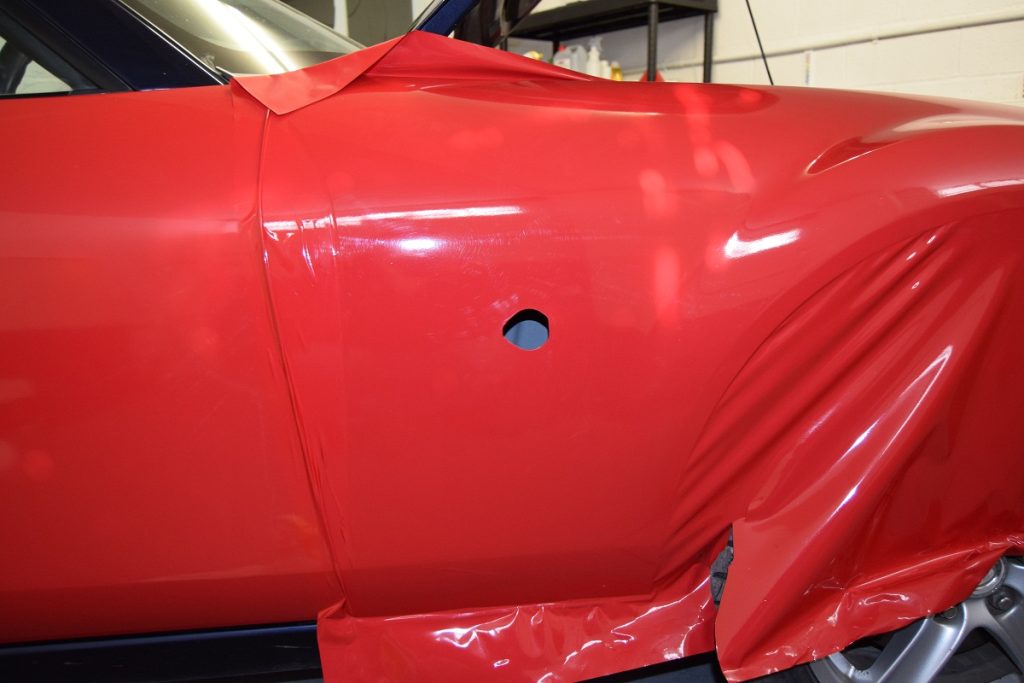
Remember earlier in this post when we posted a picture of the repair that we had to do with the drivers side repeater to remove a small amount of rust? Below is a picture showing it after the vinyl wrap has been applied. This is now perfectly smooth and ready for the repeater to be put back in place which we will do at the end of the wrapping procedure.
We hope that you have enjoyed part one of our vinyl wrap of ths Mazda MX-5. We will be doing part two in a few days time with loads more pictures.
Like what you see?
Please remember that if you are thinking about getting your own vehicle fully wrapped (or even partially wrapped) we would love to do this for you. Please feel free to contact us for a completely free no-obligation quote. We are located very close to Cheltenham in Gloucestershire.

