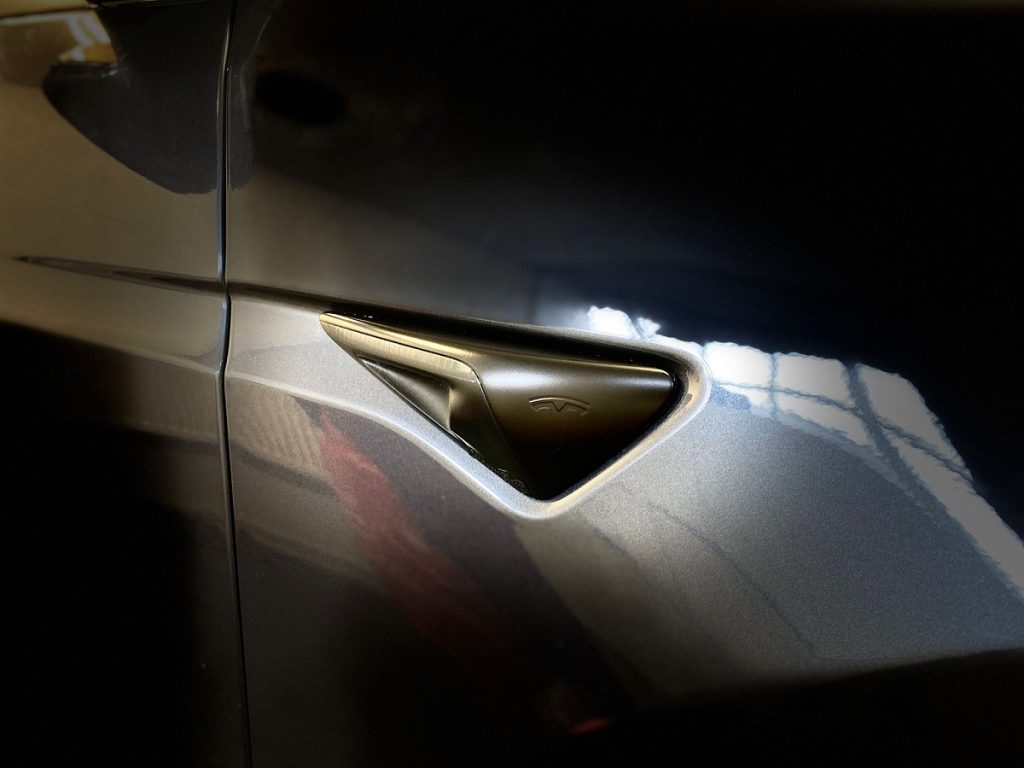
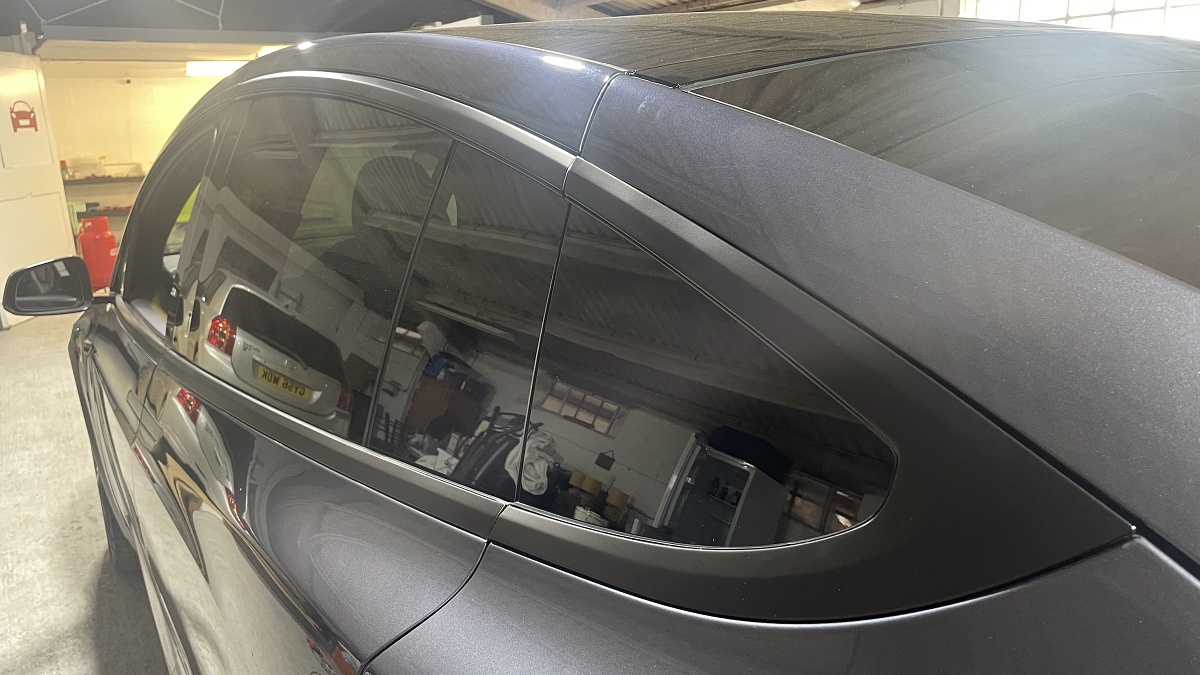
We get many vehicles in for dechroming so we thought that we would feature one of them in a nice image-rich detailed blog post. We recently had this Tesla Model X in for dechroming, and this is how it went.
It seems that we are moving away from the days of chrome with many people now opting to lower the bling levels by getting their vehicle dechromed. The most popular wrap we use on dechromes is gloss black but we do get requests for satin too, and this was our clients choice for his 2020 Tesla Model X.
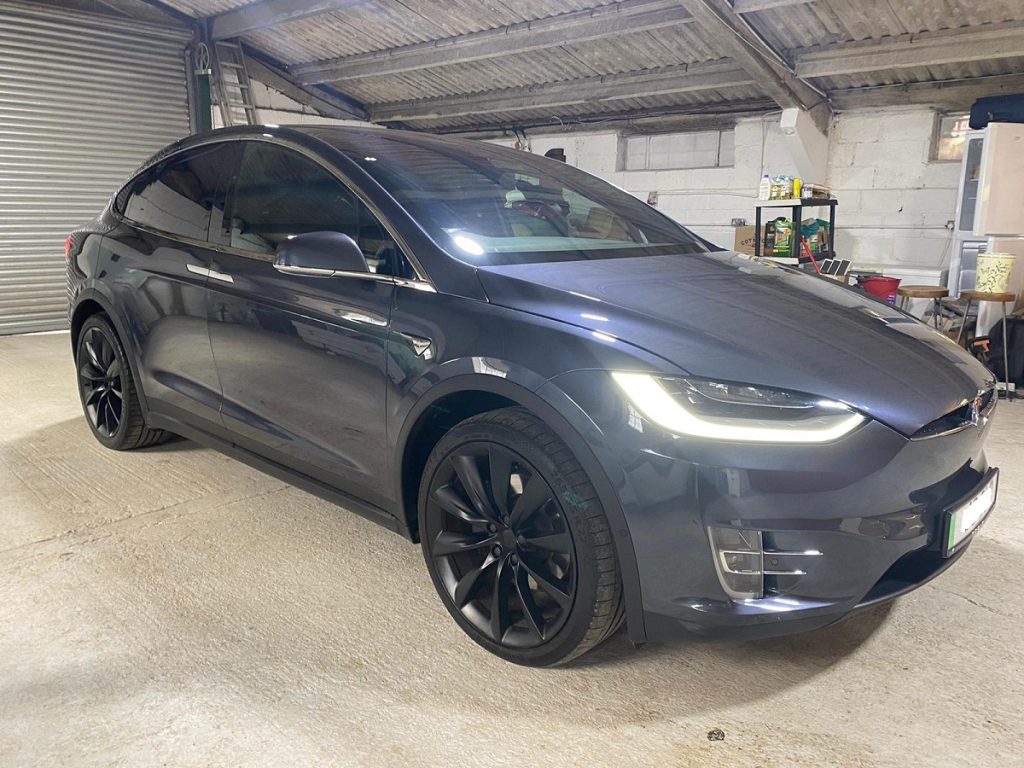
Prior to dechrome.
Below is a picture of how this Tesla Model X SUV looked like when it first arrived here at the LADZ unit in Gloucestershire.
Here is a list of our clients requirements:
- Front main central grill dechrome
- Front lower lights area x 2 dechrome
- 2 small side markers dechrome
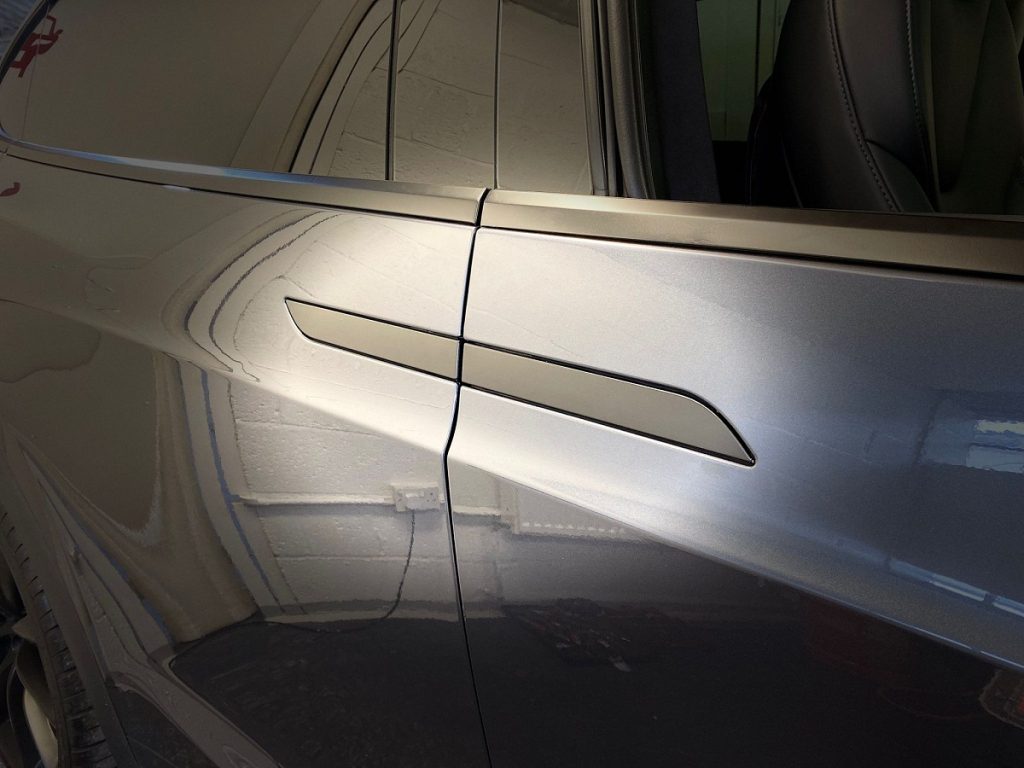
- Door handles x 4 dechrome
- Wing mirror base and surround dechrome
- Window surround dechrome
- Boot central trim piece dechrome
And we’re off!
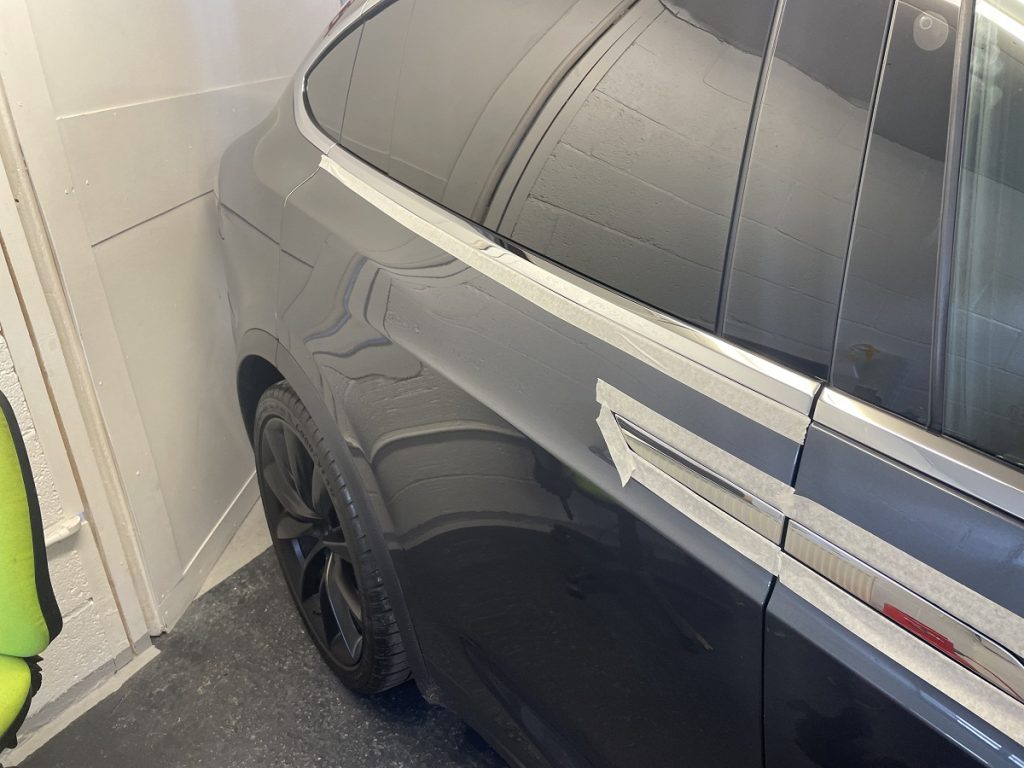
Here we start preparing the vehicle for the dechrome. We apply masking tape around all areas where the chrome meets the painted panels of the vehicle. It serves two main purposes; firstly it helps to prevent the paint from getting damaged and secondly it allows us to manipulate the vinyl wrap better at the joins. There is usually some very intricate tucking in that needs doing and we find that this masking tape really helps us in that regard.
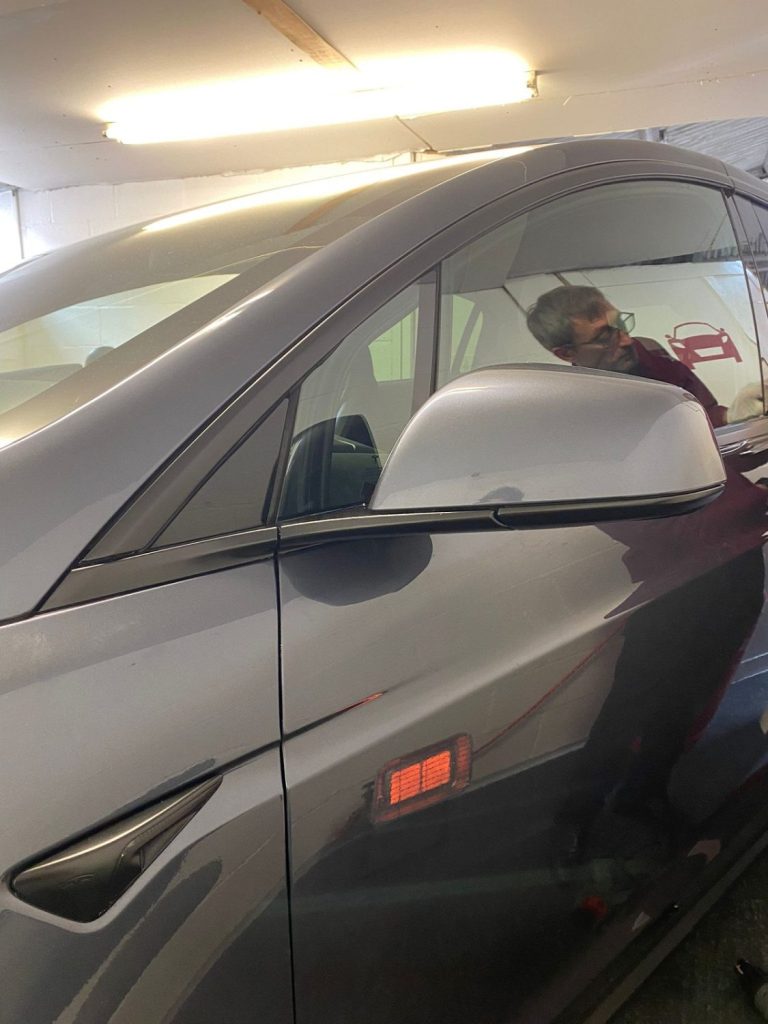
Here is a shot of one of our specialists carefully applying the vinyl wrap to the window surrounds.
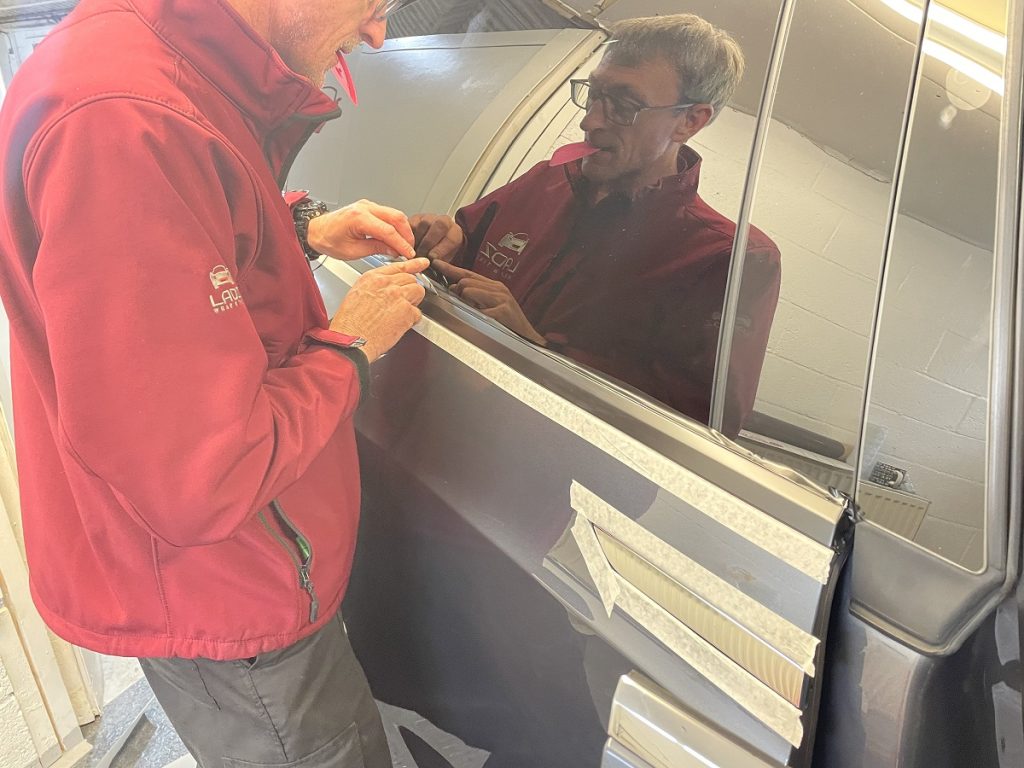
Here is some info on the vinyl wrap that we use on our dechroming jobs. We usually use Avery Dennison or 3M on all of our dechroming jobs. Our preferred wrap is Avery Dennison. The exact name of this satin wrap is Avery Dennison Satin Black SWF 412. As said before most customers opt for gloss black but we think that this satin also looks very good. It really is a question of personal taste.
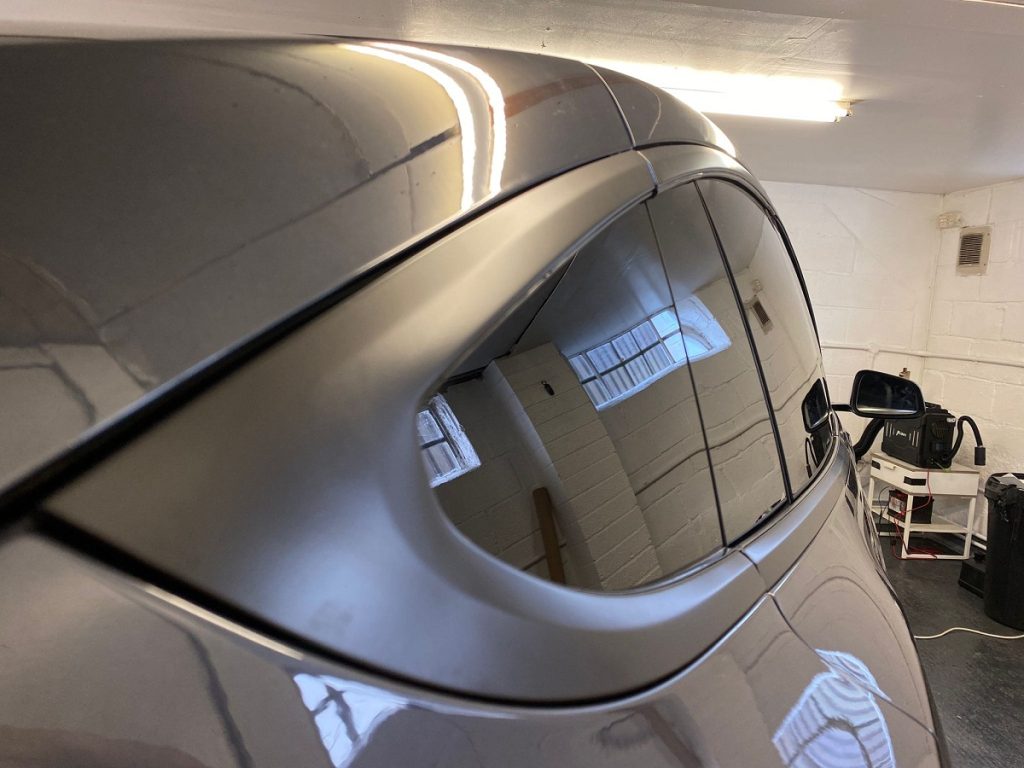
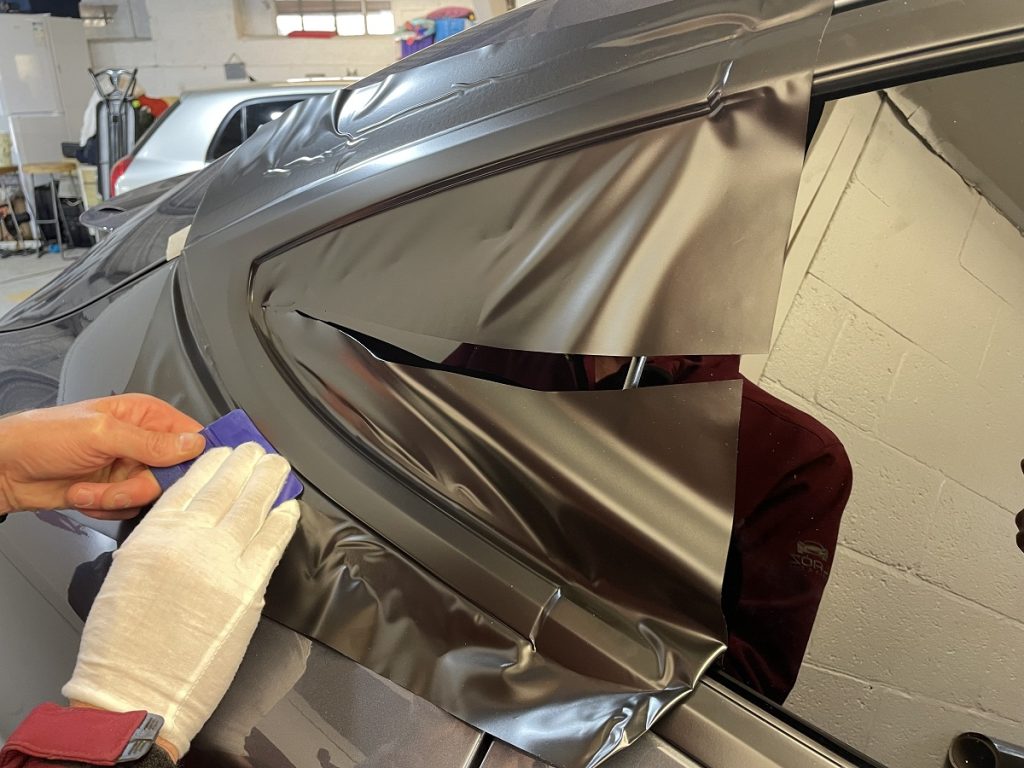
Here is a shot of the rear quarter area with the vinyl being carefully applied.
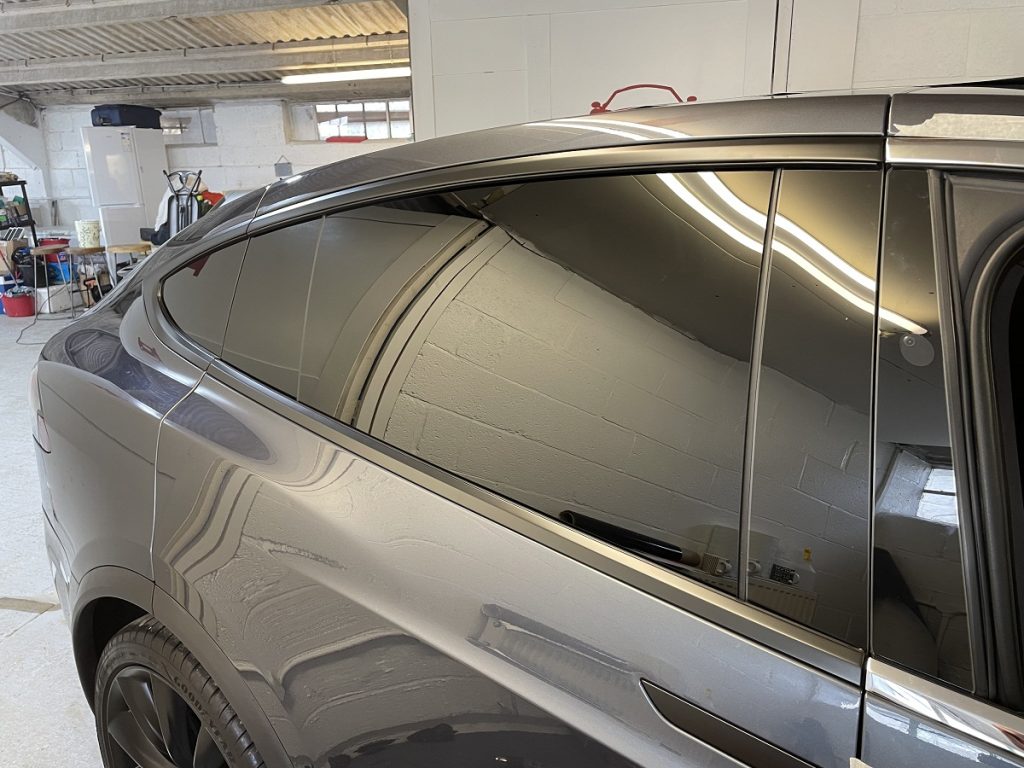
Once this section was completed it looked like this. We think the satin goes really well on this colour of vehicle.
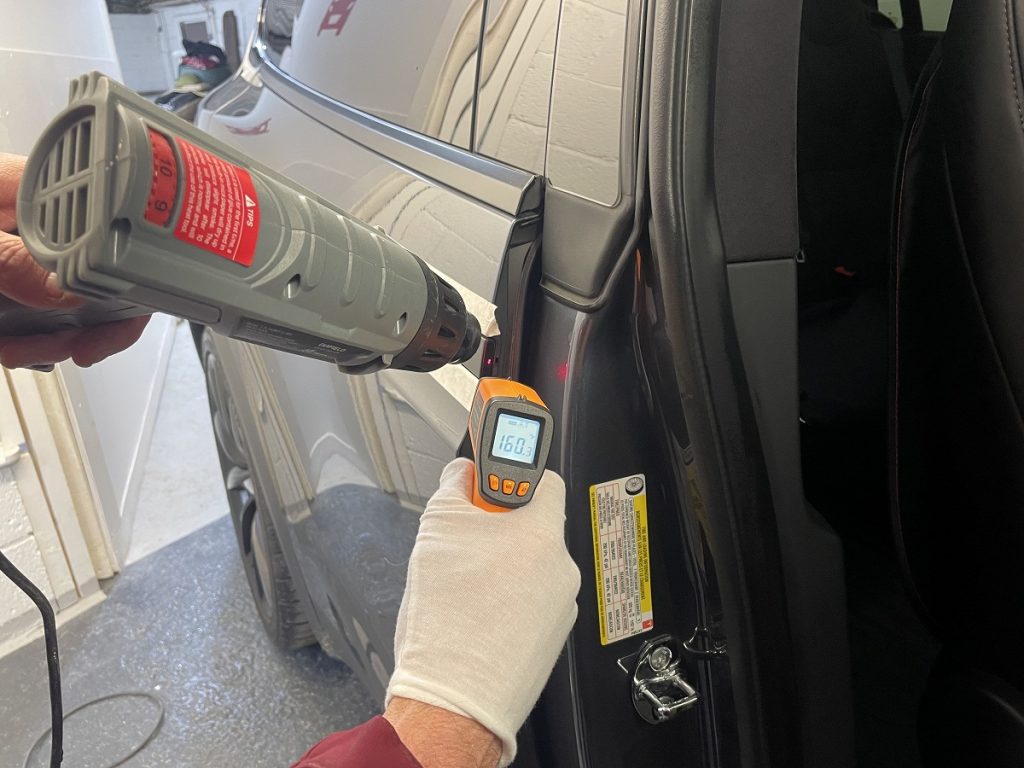
Sealing the vinyl is obviously very important so we use a infrared thermometer to make sure that the vinyl reaches a certain temperature at all possible stress points. Here one of our technicians can be seen using the thermometer.
The amount of actual vinyl used on this job is actually very small, it’s just extremely time consuming work. For obvious reasons it cannot be rushed. Around the mirror area was particularly tricky but once completed the drivers side of the vehicle was complete and it now looks like this.
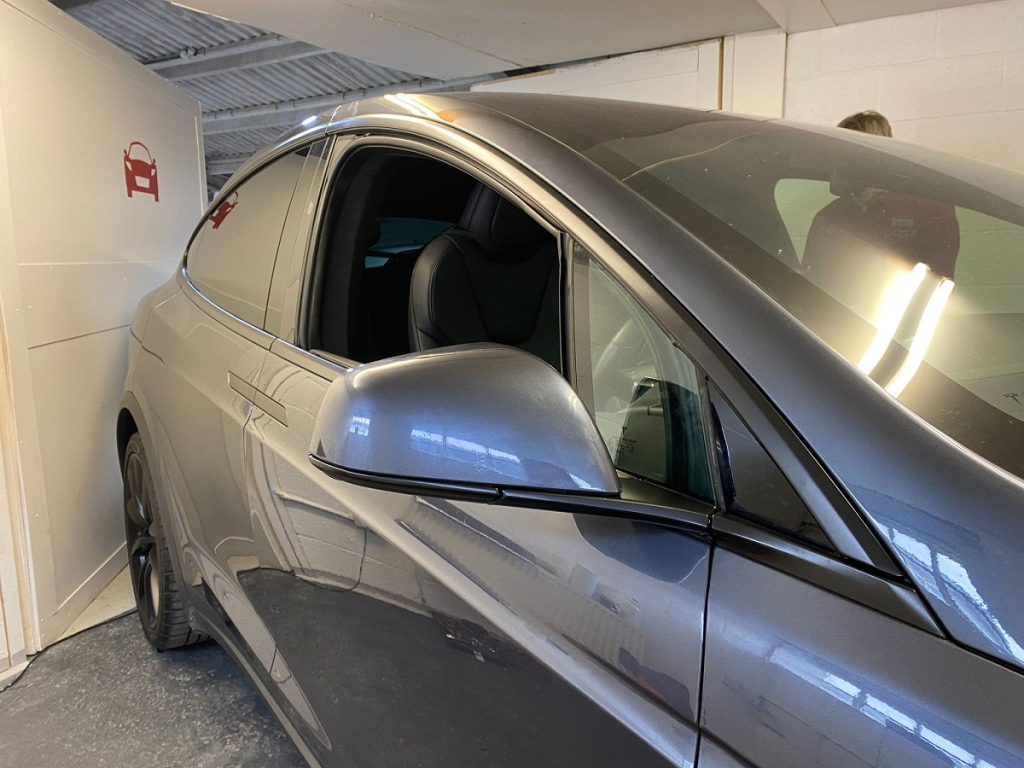
Too much chrome!
The front of the vehicle was really “blingy” with the front grill area looking like this.
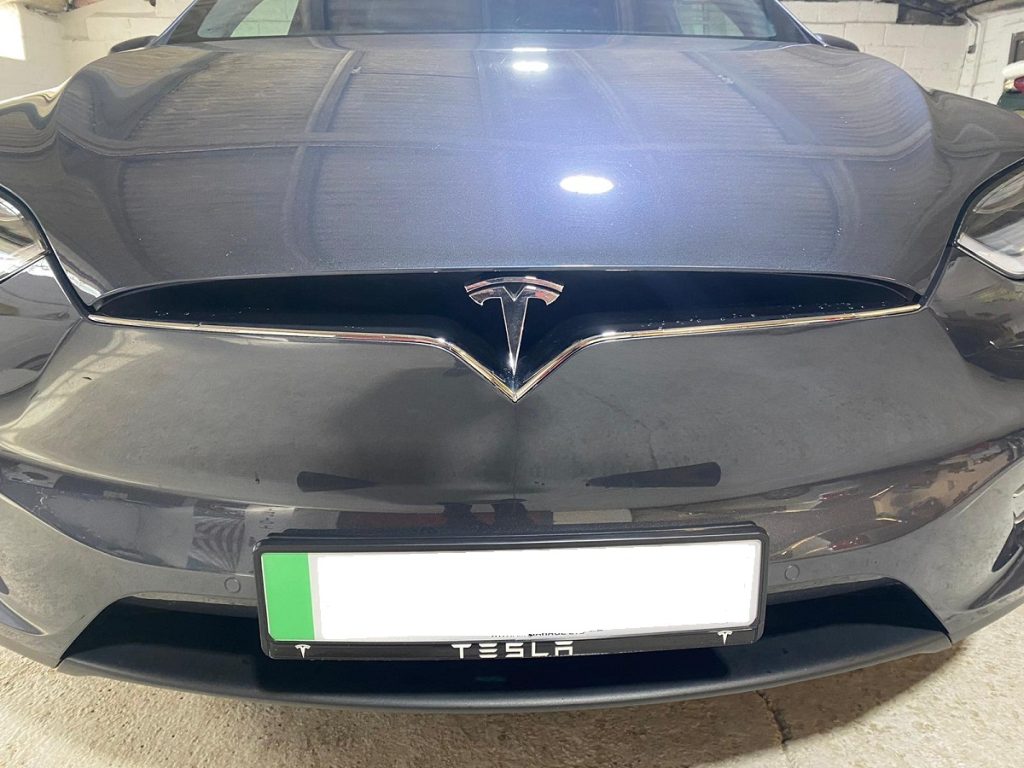
There is no doubt at all that Tesla are big fans of chrome! So one of the team got to work on dechroming it. Below are two pictures, in the first one the vinyl can be seen being applied and the second picture shows how it looks once it has been fully applied.
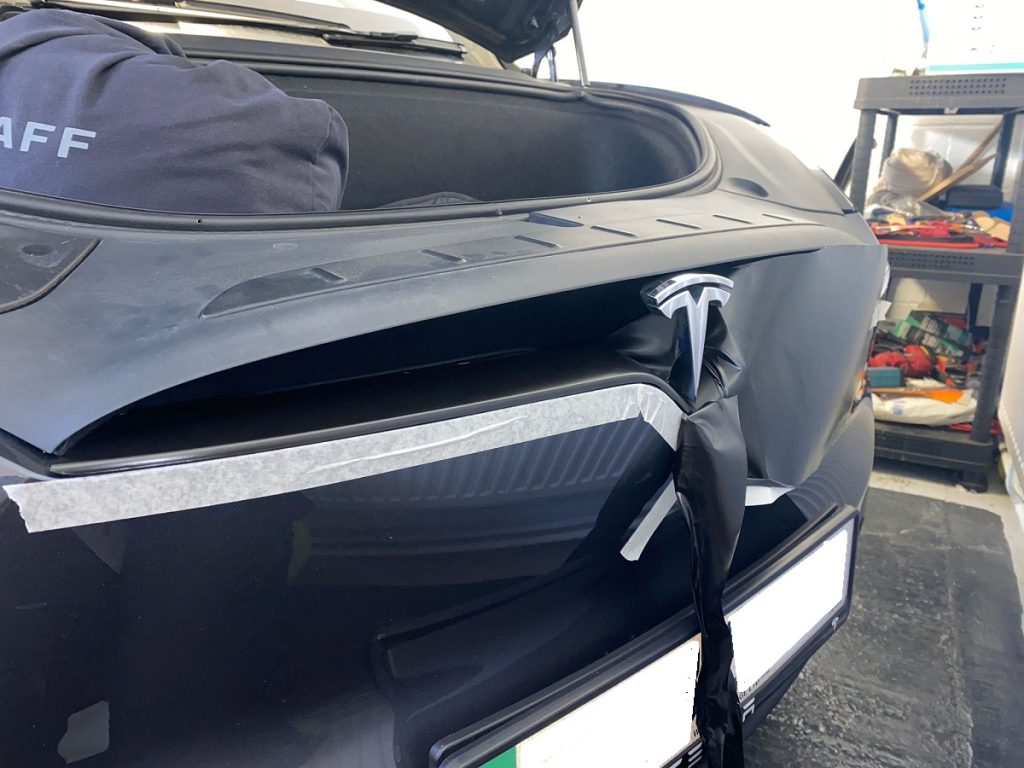
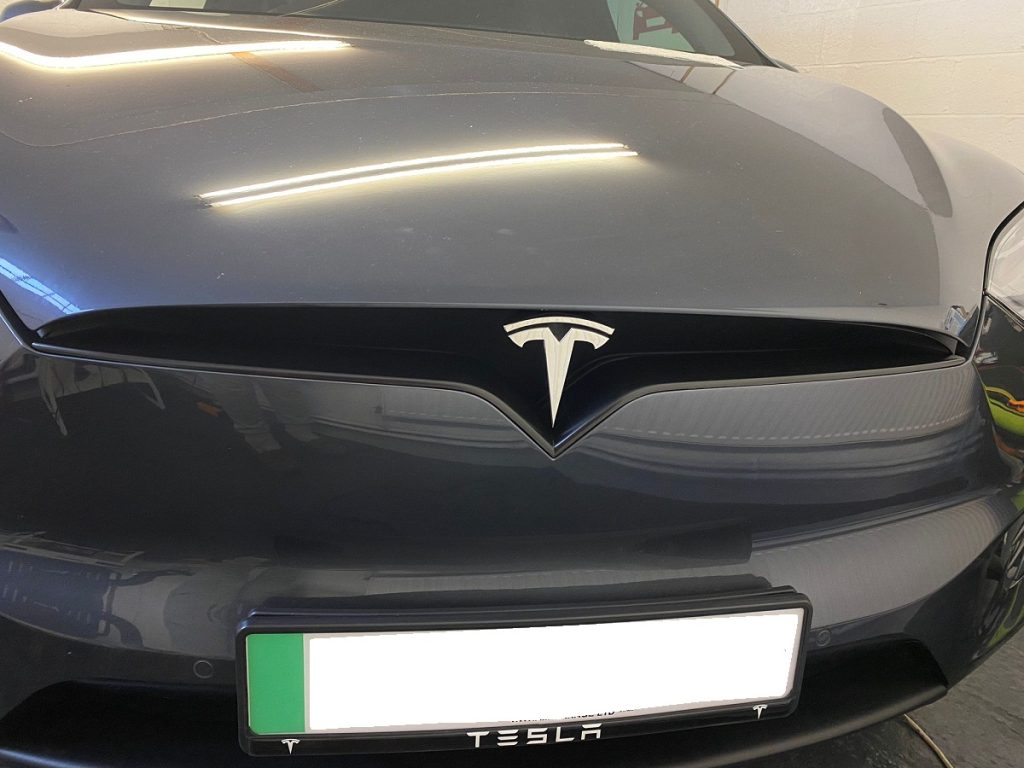
That’s better!
Does my bum look bling in this?
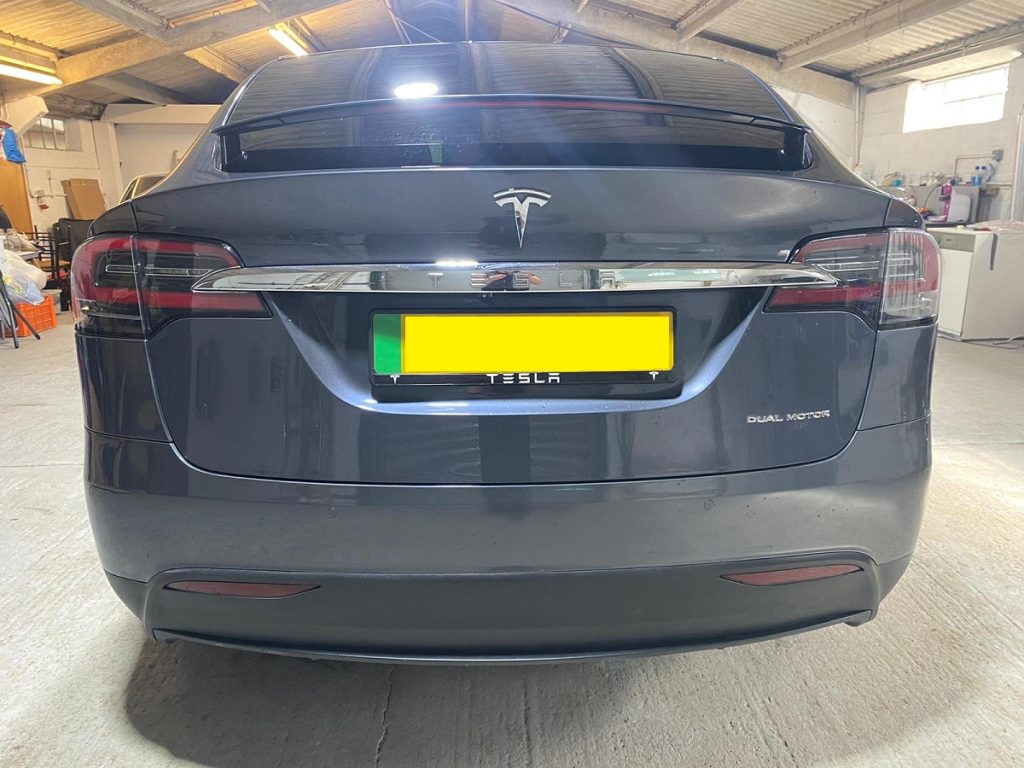
Then we turned our attention to the rear of the vehicle. There was a large chrome strip across the rear above the number-plate that looked like this.
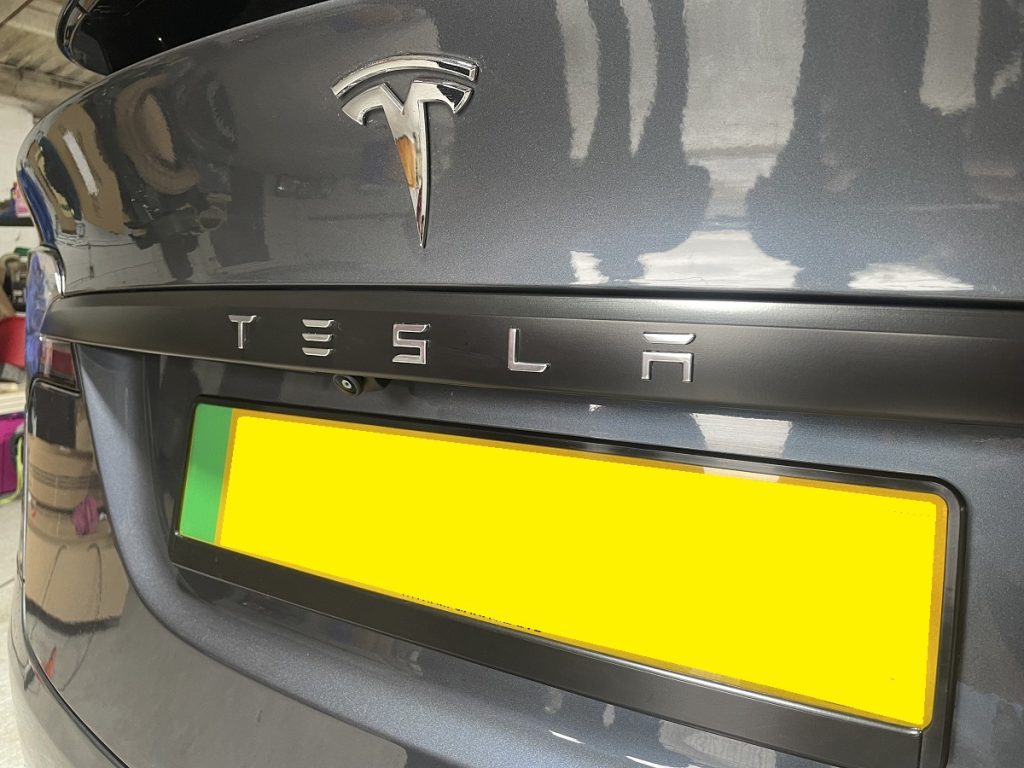
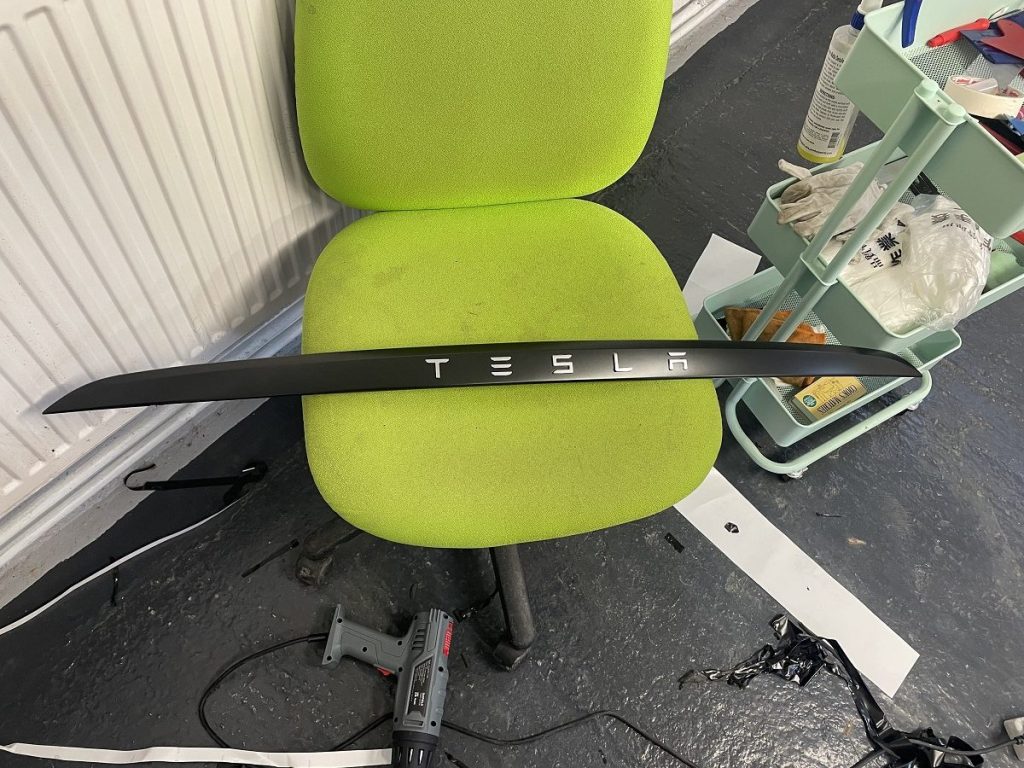
So we removed the entire strip from the vehicle and dechromed the main strip, leaving the TESLA lettering in silver. We think this looks much better now! 😀
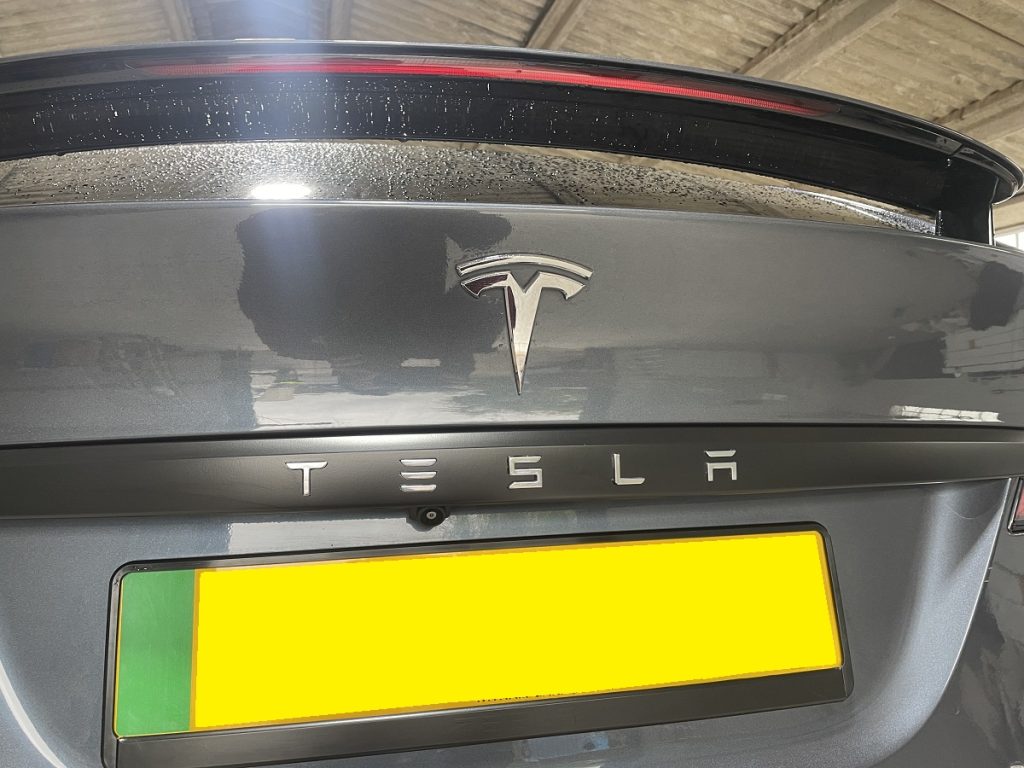
Such is the attention to detail we even dechromed the small black strip beneath the number-plate too.
Now it is really starting to come together nicely! You would be surprised at how cost effective a transformation like this can be. Feel free to contact us for a completely free no-obligation quote today.
The finished article.
We then completed the passenger side of the vehicle and below are a series of pictures of the completed job! We were very happy with how this Tesla Model X dechroming turned out, but more importantly, so was our client. 🙂
