
We are documenting right here on our blog a vinyl wrap we are currently doing on one of our clients vehicles, a 2013 VW Caddy. In part 1 of our showcase we explained how we prep the vehicle for wrapping and show some early progress of the actual vinyl wrapping process. In this blog post we will cover more of the process.
Making progress
You may remeber seeing in part 1 the team were very busy working on one side of the Caddy where there was a huge area being wrapped. This area has now been completed and below is a picture showing this side finished off, except for a small strip along the bottom.
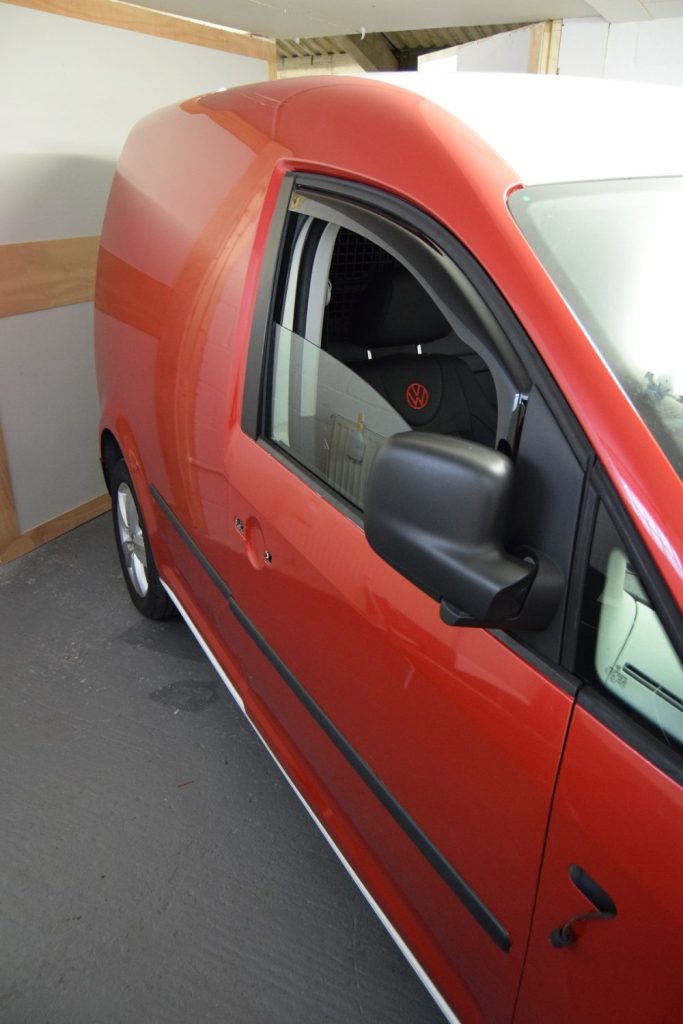
The curvature along the top and the side of the rear section made this a very tricky process but as you can see our expert technicians Darren and Lily have managed to absolutely nail it!
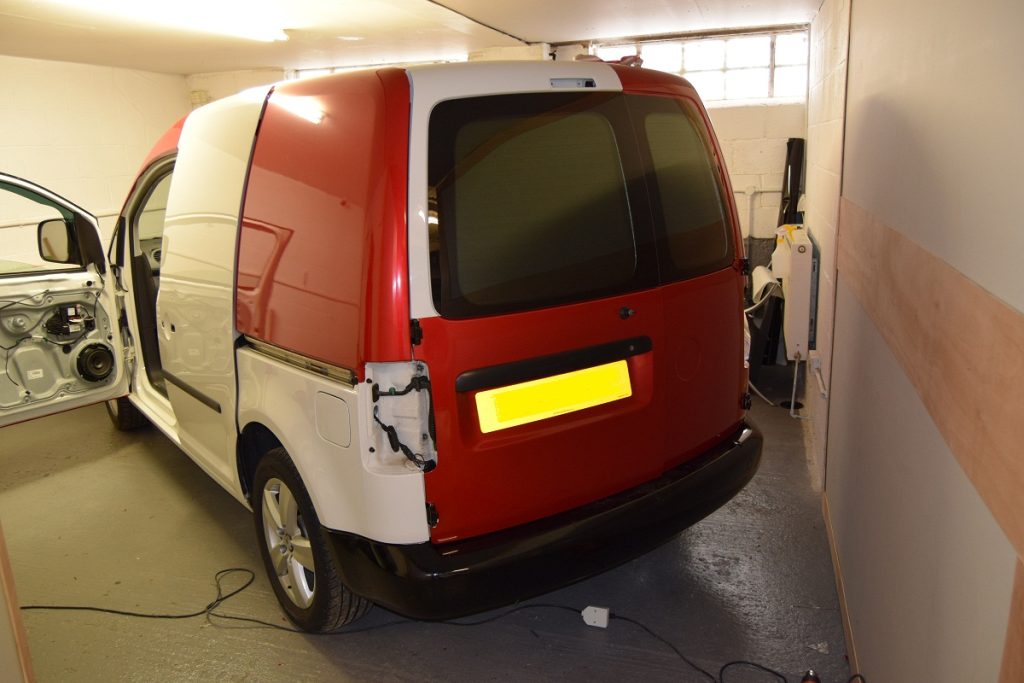
Moving on to the rear of the vehicle you can see below that most of the rear of the vehicle is complete along with some of the passenger side, which incorporates a sliding side door. Having the rear light clusters removed means that we can seal the wrap off perfectly. The rear numberplate was removed and then replaced once that particular segment was fully wrapped.
How long does it take to wrap a vehicle?
We have been getting quite a few emails and texts from people following this build and they are asking us how long a complete vehicle vinyl wrap takes. The answer is around four to five days, maybe slightly longer if we have a lot of prep work to do. It is a labourous proceedure and we will never rush any job.
Something else we would like to show you is the attention to detail on the edges of the doors. Below is the inside edge of the passenger side rear sliding door.
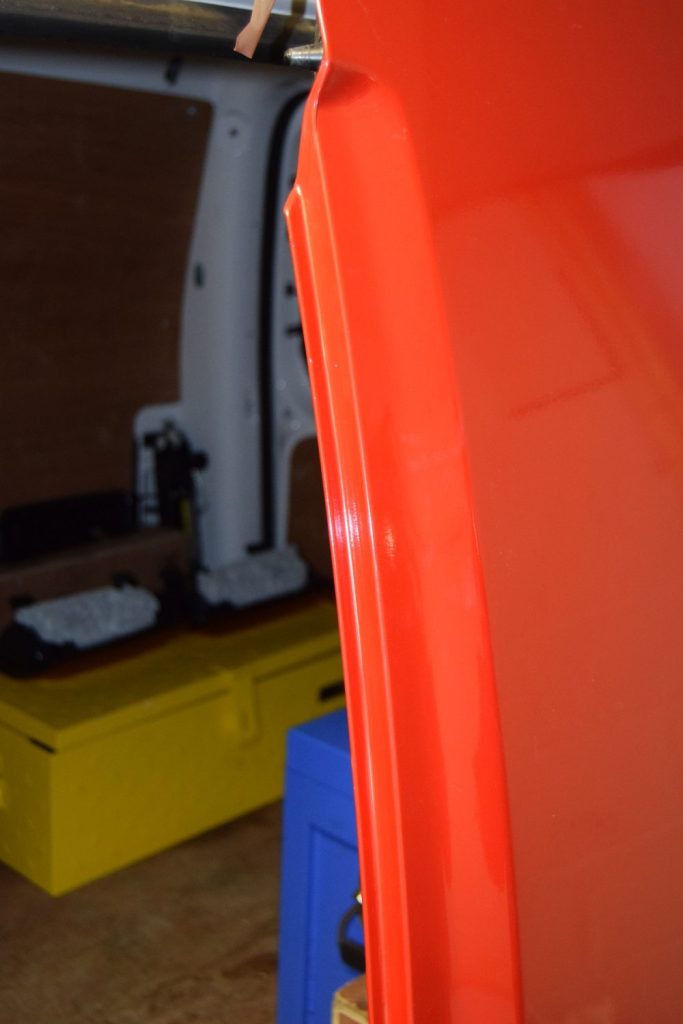
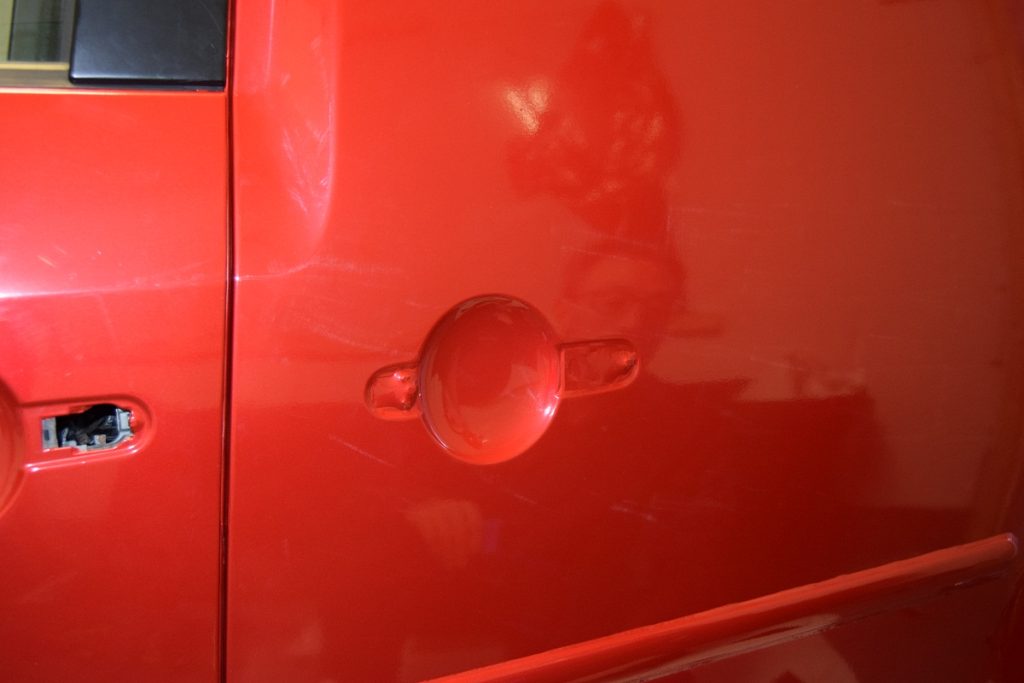
The door handle recesses are dealt with by slightly heating the area and then gently manipulating it from the outside working inwards using just the technicians fingers. Once it has set it will remain perfectly stuck down.
We were going to wrap this VW Caddy vinyl wrap showcase up in two blog posts but as there is still so much remaining to show you we have decided to extend this to a 3rd blog post and that will be up within the next couple of days.
Please remember that if you like what you see and would like to have your own vehicle wrapped then please do not hesitate to contact us for a completely free no-obligation quote. No job is too small so even if you are thinking of a partial wrap, or just a few parts of the vehicle wrapping we should also be able to accomodate you.